Step 1. Create a Hotjar account.
If you haven’t already start by creating your hotjar account. From here you will be directed to a page that will show you a few helpful hints as well as the installation hardcode (which in this case we wont need) and our Hotjar ID.

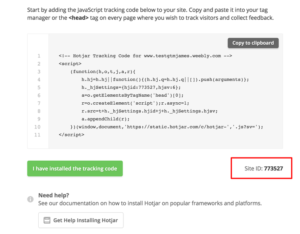
picture of the hotjar tracking site ID code
Step 2. Create Hotjar Tag in GTM
You can choose whether or not you want to fire your hotjar tag on all pages or just a select few. In this case we would like hotjar to fire on all pages so we can create heatmaps and recordings on various different pages without having to udpate the tags in GTM. Keep in mind that Hotjar will automatically obscure any fields where the user enters personally identifiable information unless specifically told not to so.
Go ahead and:
- Create the new tag: name Hotjar – All Pages
- Choose Hotjar as a Tag Type
- Enter your hotjar Site ID
- Choose “All Pages” as a trigger
- Save and Publish
![]()
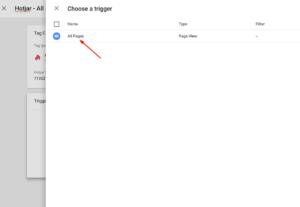
3. Preview & Publish the Hotjar Tag
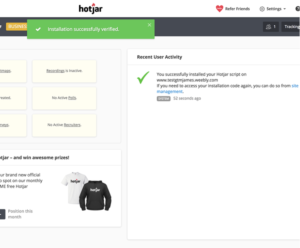
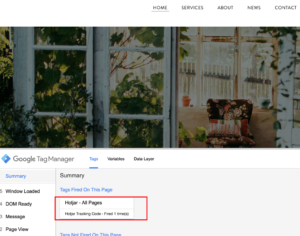
After saving your tag you can first go into preview mode within tag manager to check that it is indeed firing on all the pages like you specified. Following this you can click publish and then you can verify that the tag has been implemented in hotjar as well.
4. Create Your Heatmaps & Recordings in Hotjar
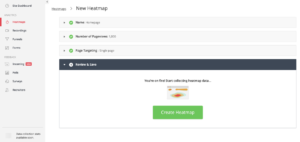
Now its time to create your heatmaps and recordings of those pages that you wish to see within your reporting. After you have setup your heatmap hotjar will start collecting click, scroll and mouse movement data for you to review. Depending on the traffic the time it takes to get a good snapshot will vary from site to site. Now all you need to do sit back and watch the data roll in!

Recent Comments